We are pleased with the way the new mobile chicken coop is shaping up.
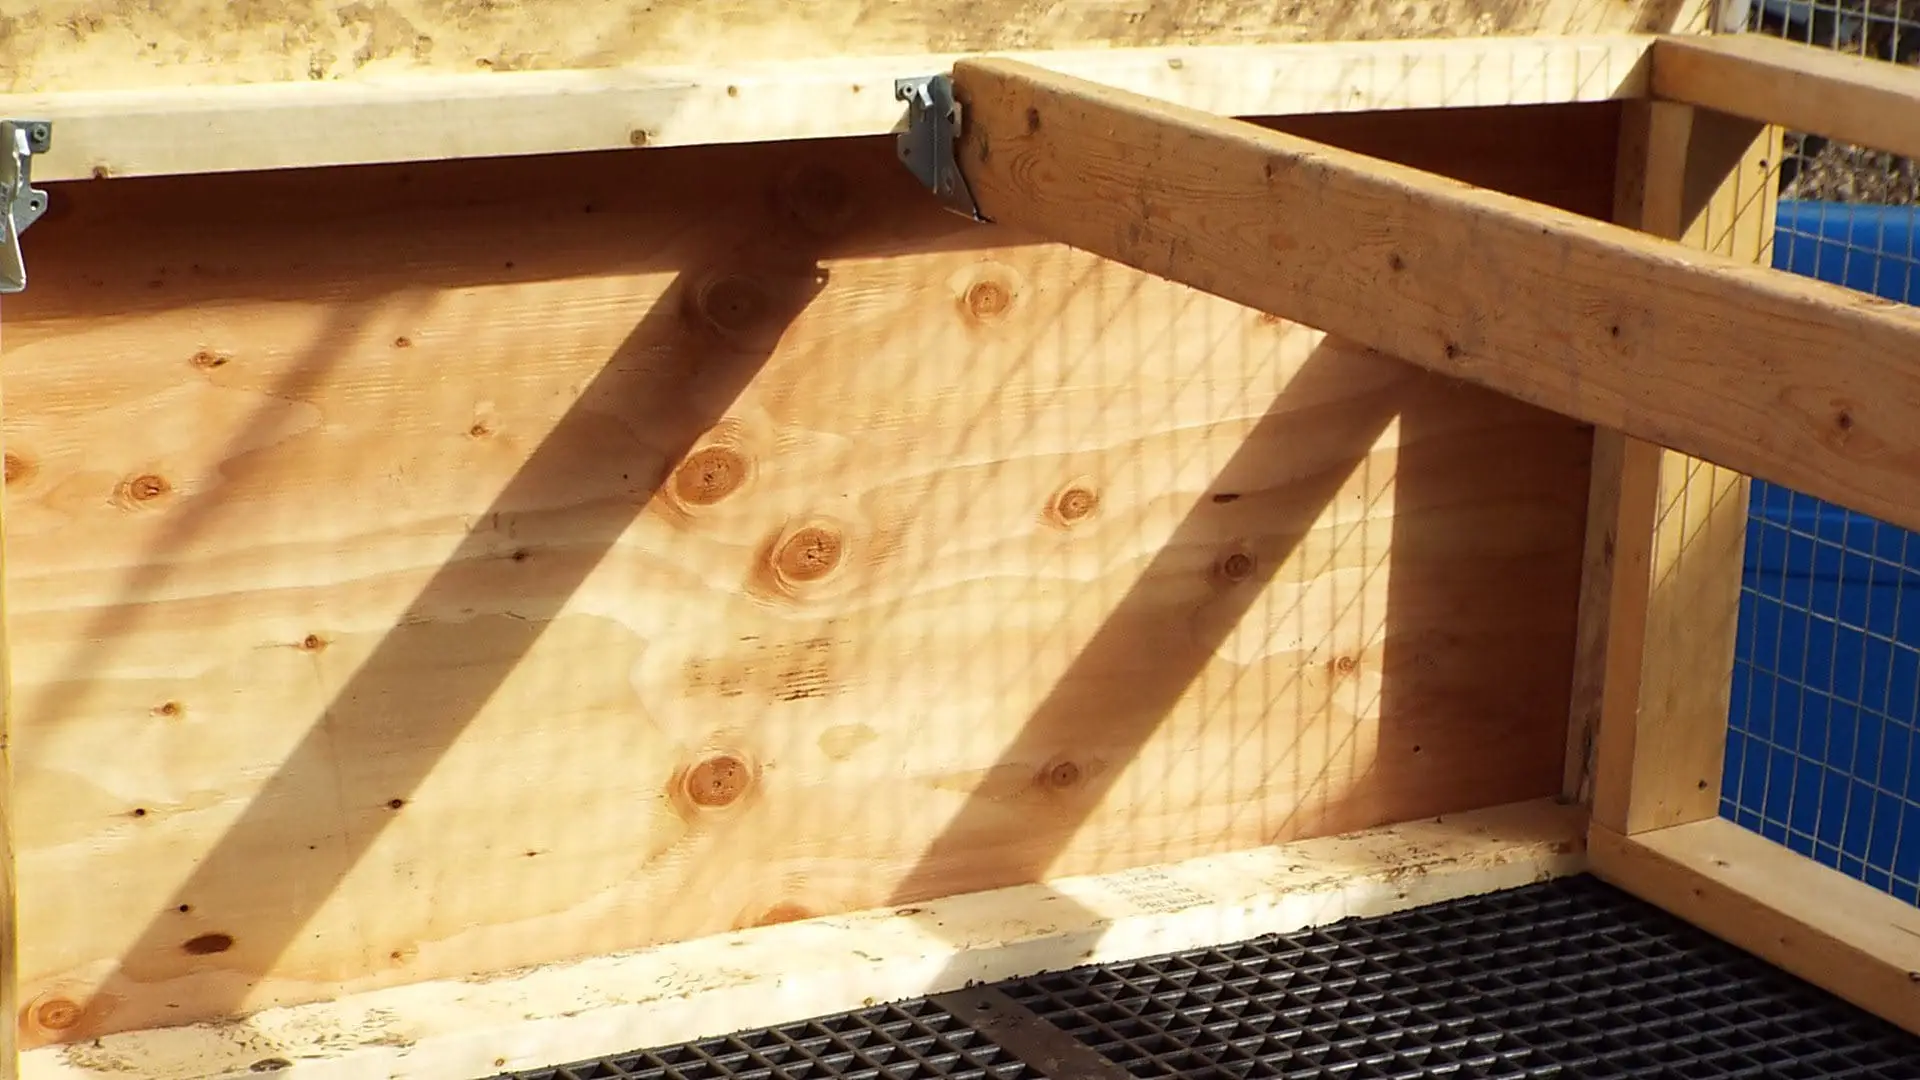
We welded in new angle iron floor bracing, then installed slatted floor. The floor is only rated for 10 pounds per square foot, so working inside the coop requires us to carefully keep our feet over the steel bracing. The weight restriction won’t be a problem for the chickens, but I am wary about its ability to withstand clumsy humans (myself included).
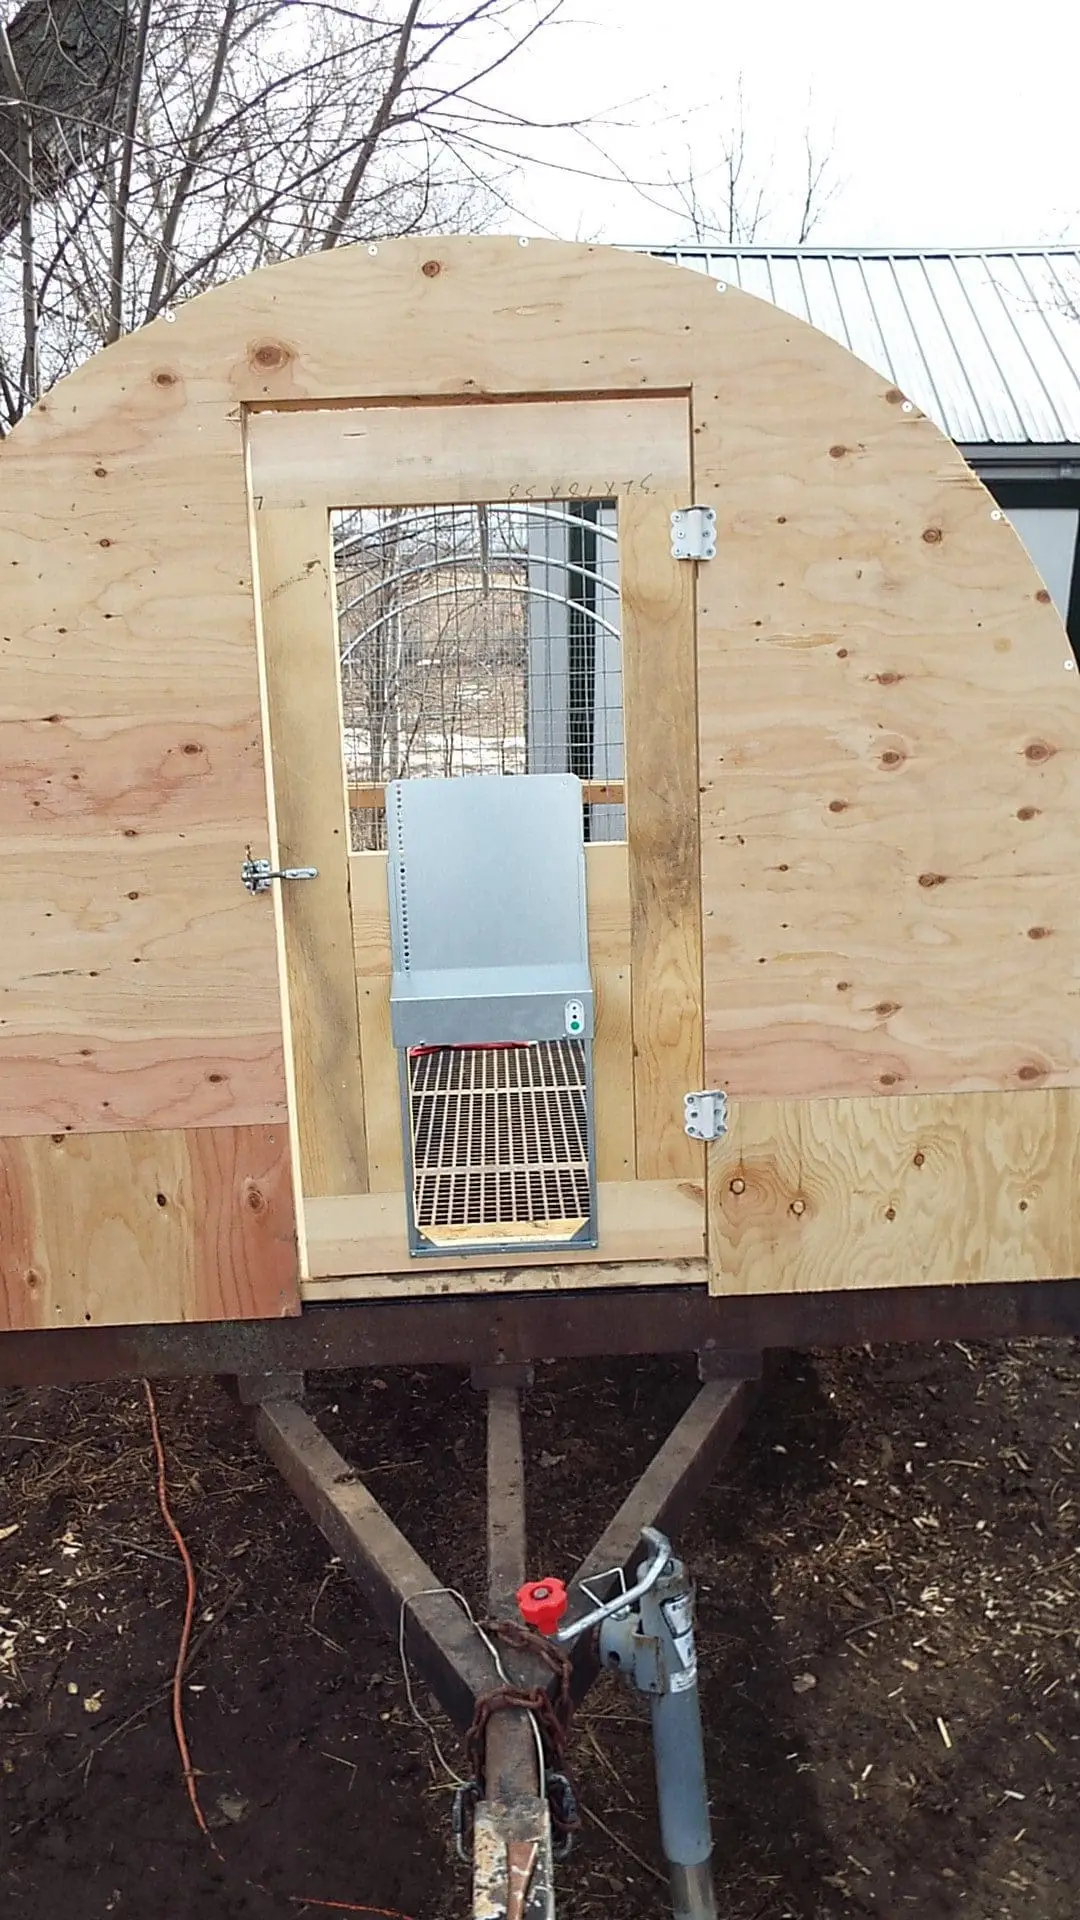
Walls are up, hoops are up, doors are installed. We went all-out and bought an automatic light-sensing door. It cost $225 for the door and battery, but it will be worth it if we can eliminate the chore of opening and closing the chicken coop each day.
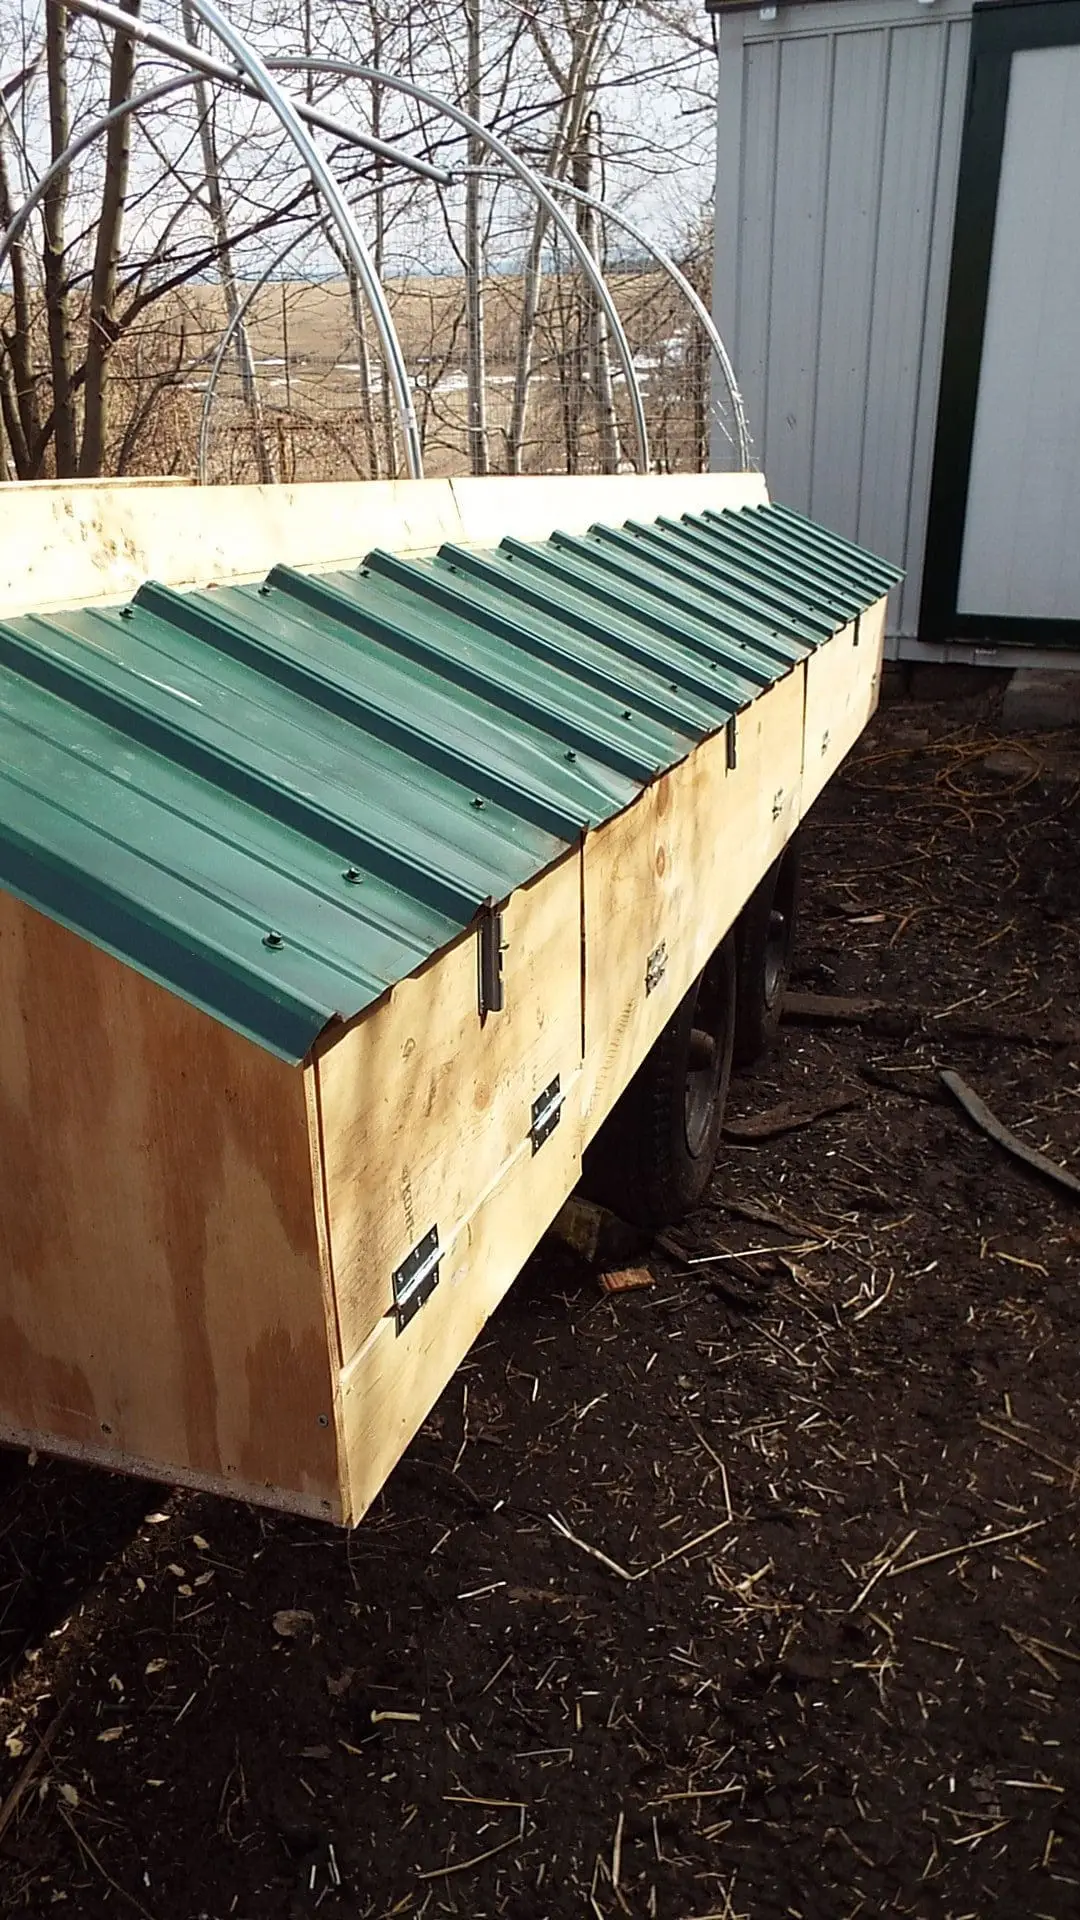
We installed ten feet of roll-out, community-style nest boxes. The roll-out feature is new for us, so we’ll see how that works. We covered the nest box floor with a outdoor doormat sliced in half. All the roofing is offcut scrap from last fall’s barn repair project. If we decide to add more chickens next year we can easily build another row of nest boxes down the right side of the trailer.
Remaining items:
- Paint the plywood in a few weeks when the weather is above 50 degrees and dry.
- Build a roll-up tarp wall for the back of the coop.
- Install flashing over the top of the nest boxes.
- Install the roof covering.
- Add a few wood steps to the front of the trailer.
- Install birds.