Solar Powered Trailer Trash

I built a portable high-power solar fence charger mostly from parts and scrap.

I’ve been using a 2 joule solar fence energizer from Premier for four years and it has worked well when we need a temporary fence out away from our main fences.  But since the Premier fencer is in use over by the pigs and chickens, we needed another solar energizer.  Eventually we hope to extend our perimeter electric fences to the back fields, but that is a project for another year.

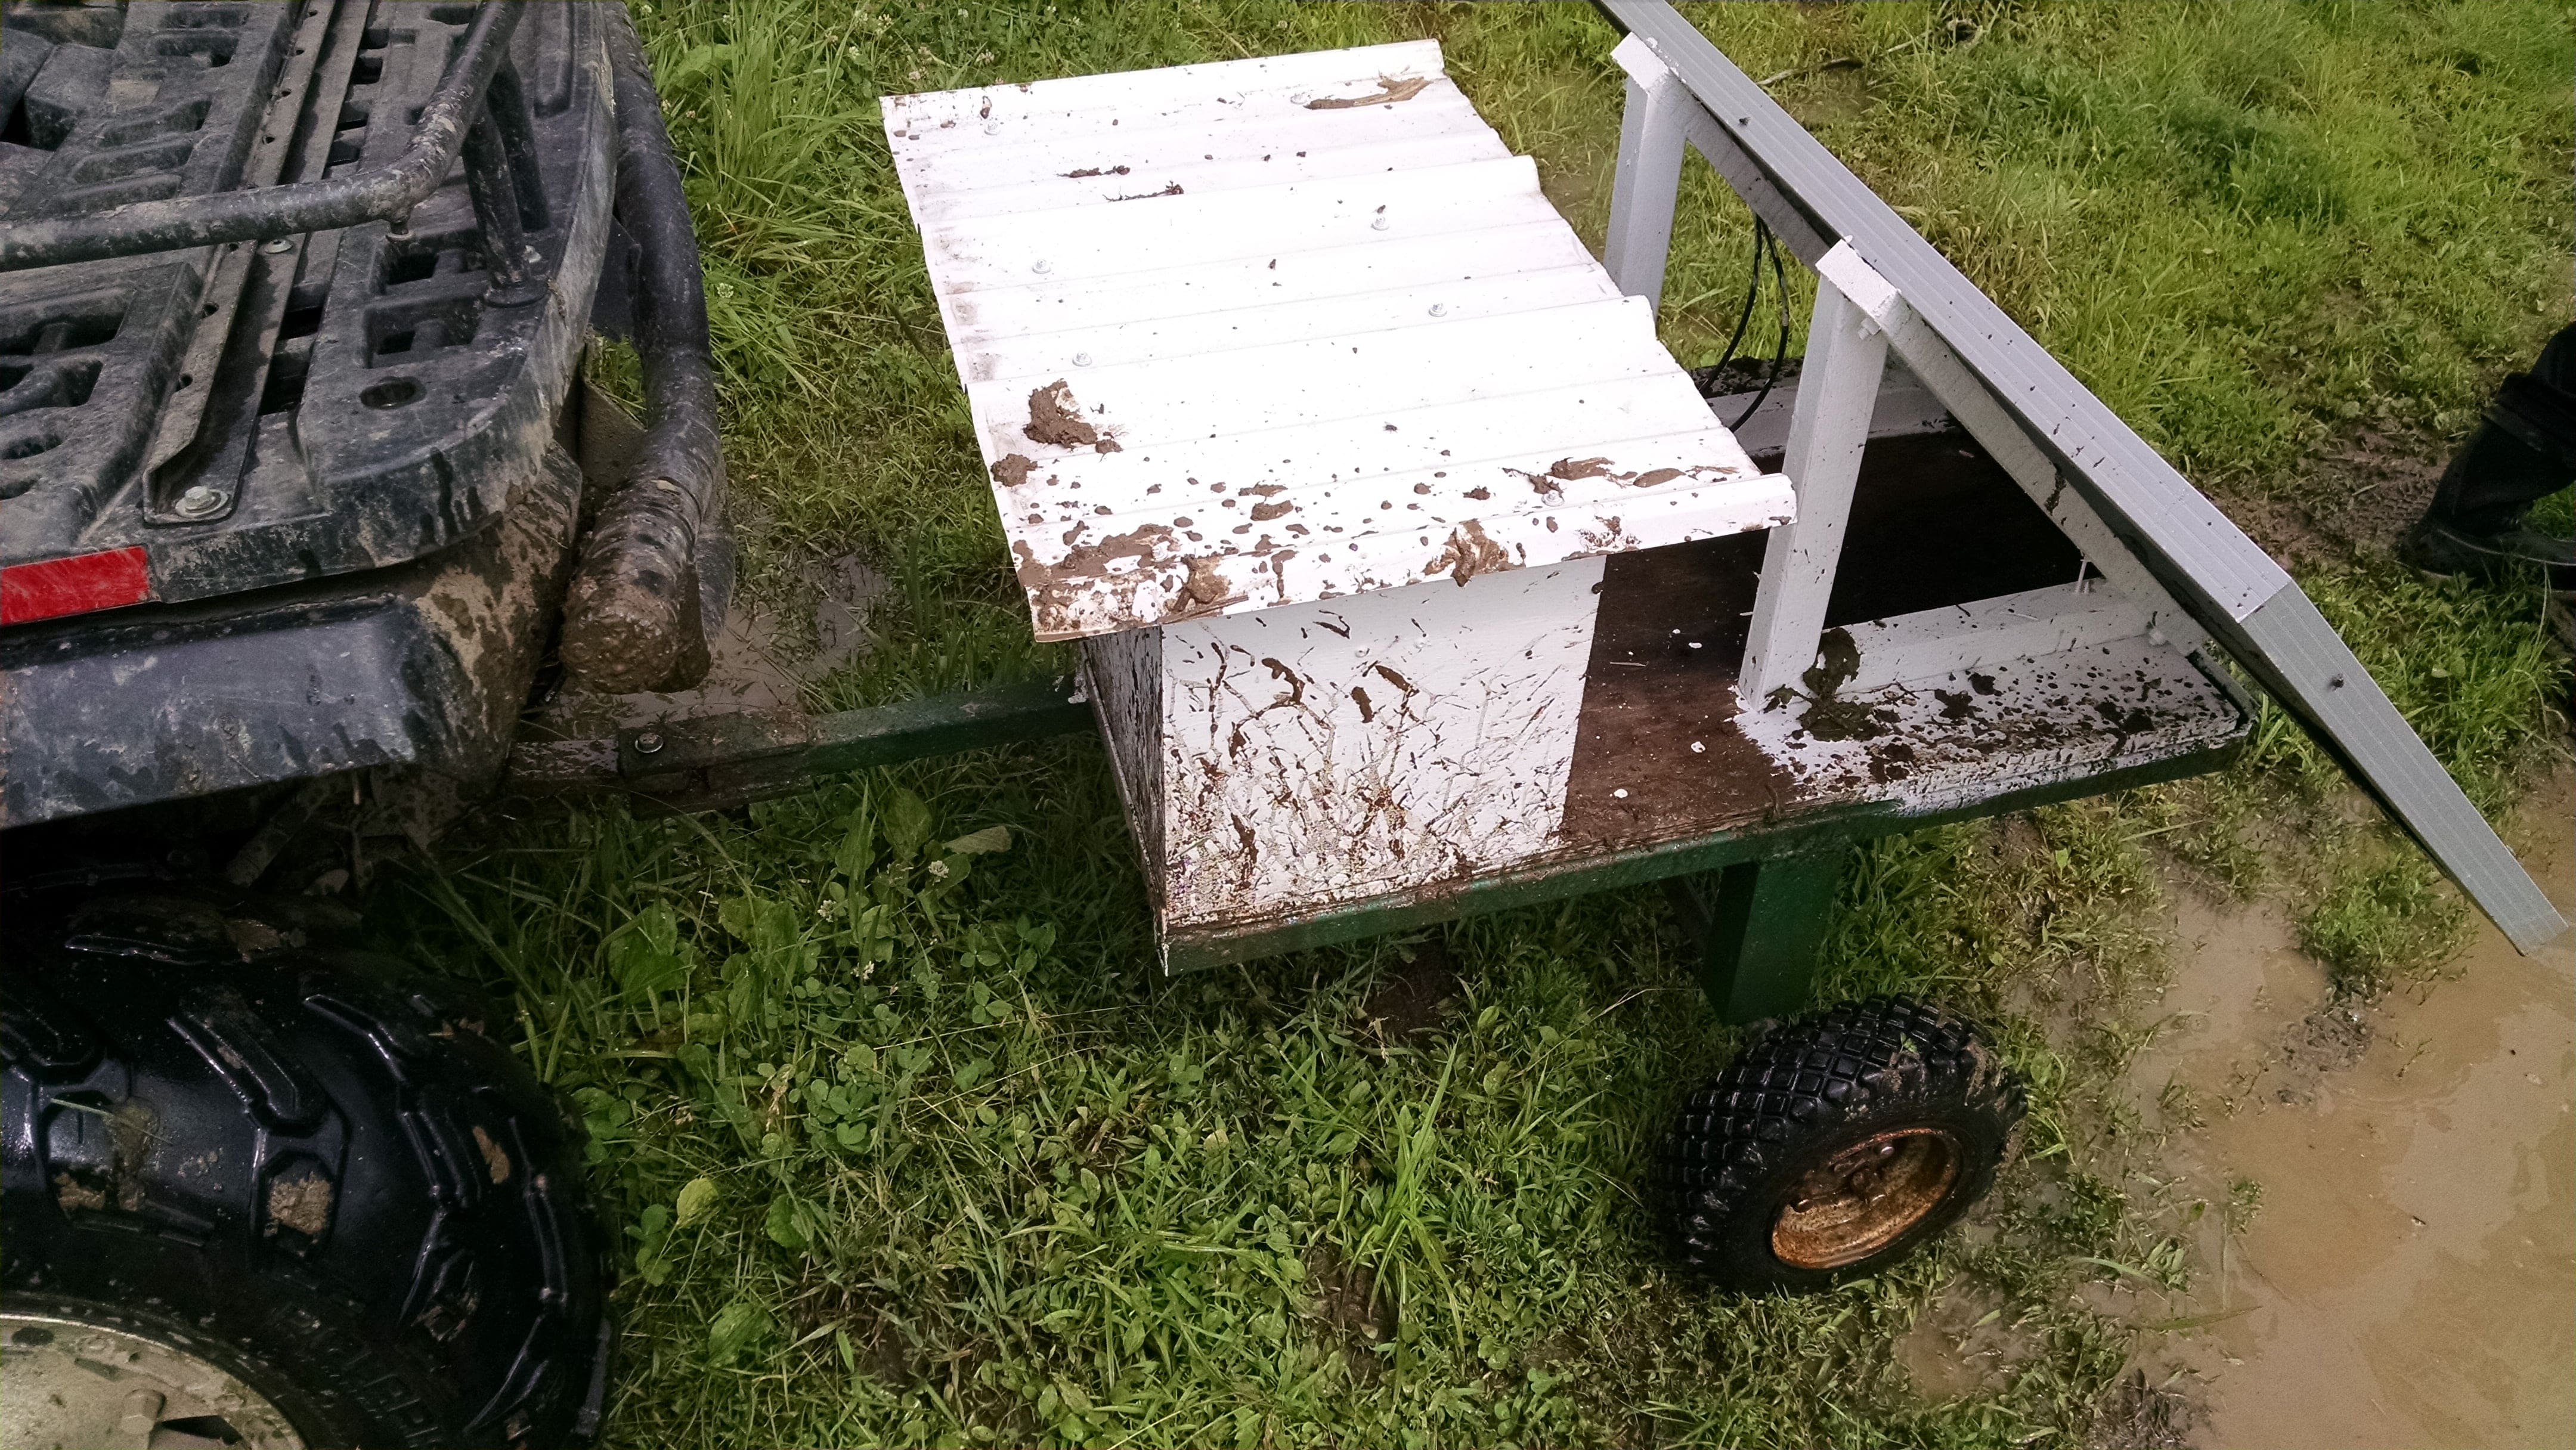
The energizer I started with is a 6 joule Speedrite AC/DC energizer.  This was our main fencer before we upgraded to a much more capable 32 joule energizer, so the most expensive component was already on-hand.  I also had a small trailer, a deep cycle battery, and offcut wood and metal scraps.  I bought a 100W solar panel and charge controller.  Like most of our projects, it dragged along for months as I found time to work on it.  Without all the starts and stops it could have been a quick project, but quick projects are rare phenomena here.

Here’s how it came together:

Starting with this cart.  I bought this old fire pump a few years ago, but unfortunately is really only effective as a transfer pump and I needed something that could pull more suction.  Anyone need a nice old Wisconsin engine?
I started with this cart. I bought this fire pump a few years ago, but unfortunately is only effective as a transfer pump and I needed something that could pull more suction.  Anyone need a Wisconsin engine?
IMG_20150701_152940994
The solar panel mounts on the back and all the electronics are inside the box on the front. Getting it out to the pastures with all our recent rain proved to be a messy chore.  So much for the paint job.
IMG_20150701_152956969
Regulated 12v terminals at 12 o’clock, battery at 3 o’clock, fence energizer at 7 o’clock, charge controller at 10 o’clock.
I broke the first charge controller.  It may have been defective to start with, but while connecting and disconnecting wires while I was trying to figure out why it wasn't working, I snapped off a screw in the wiring terminal block.  I bought the controller shown above as a replacement.  My color blindness makes it hard to distinguish between red, green, and yellow LED flashes, so I'm much happier with this unit.  There is no mystery and no need to consult a manual to figure out what each blinking light pattern signifies.
I broke the first charge controller. It may have been defective to start with, but while connecting and disconnecting wires while I was trying to figure out why it wasn’t working, I snapped off a screw in the wiring terminal block. I bought the pictured unit as a replacement. My color blindness makes it hard to distinguish between red and green LED flashes, so I’m much happier with this unit. There is no mystery and no need to consult the manual to decode blinking light patterns.

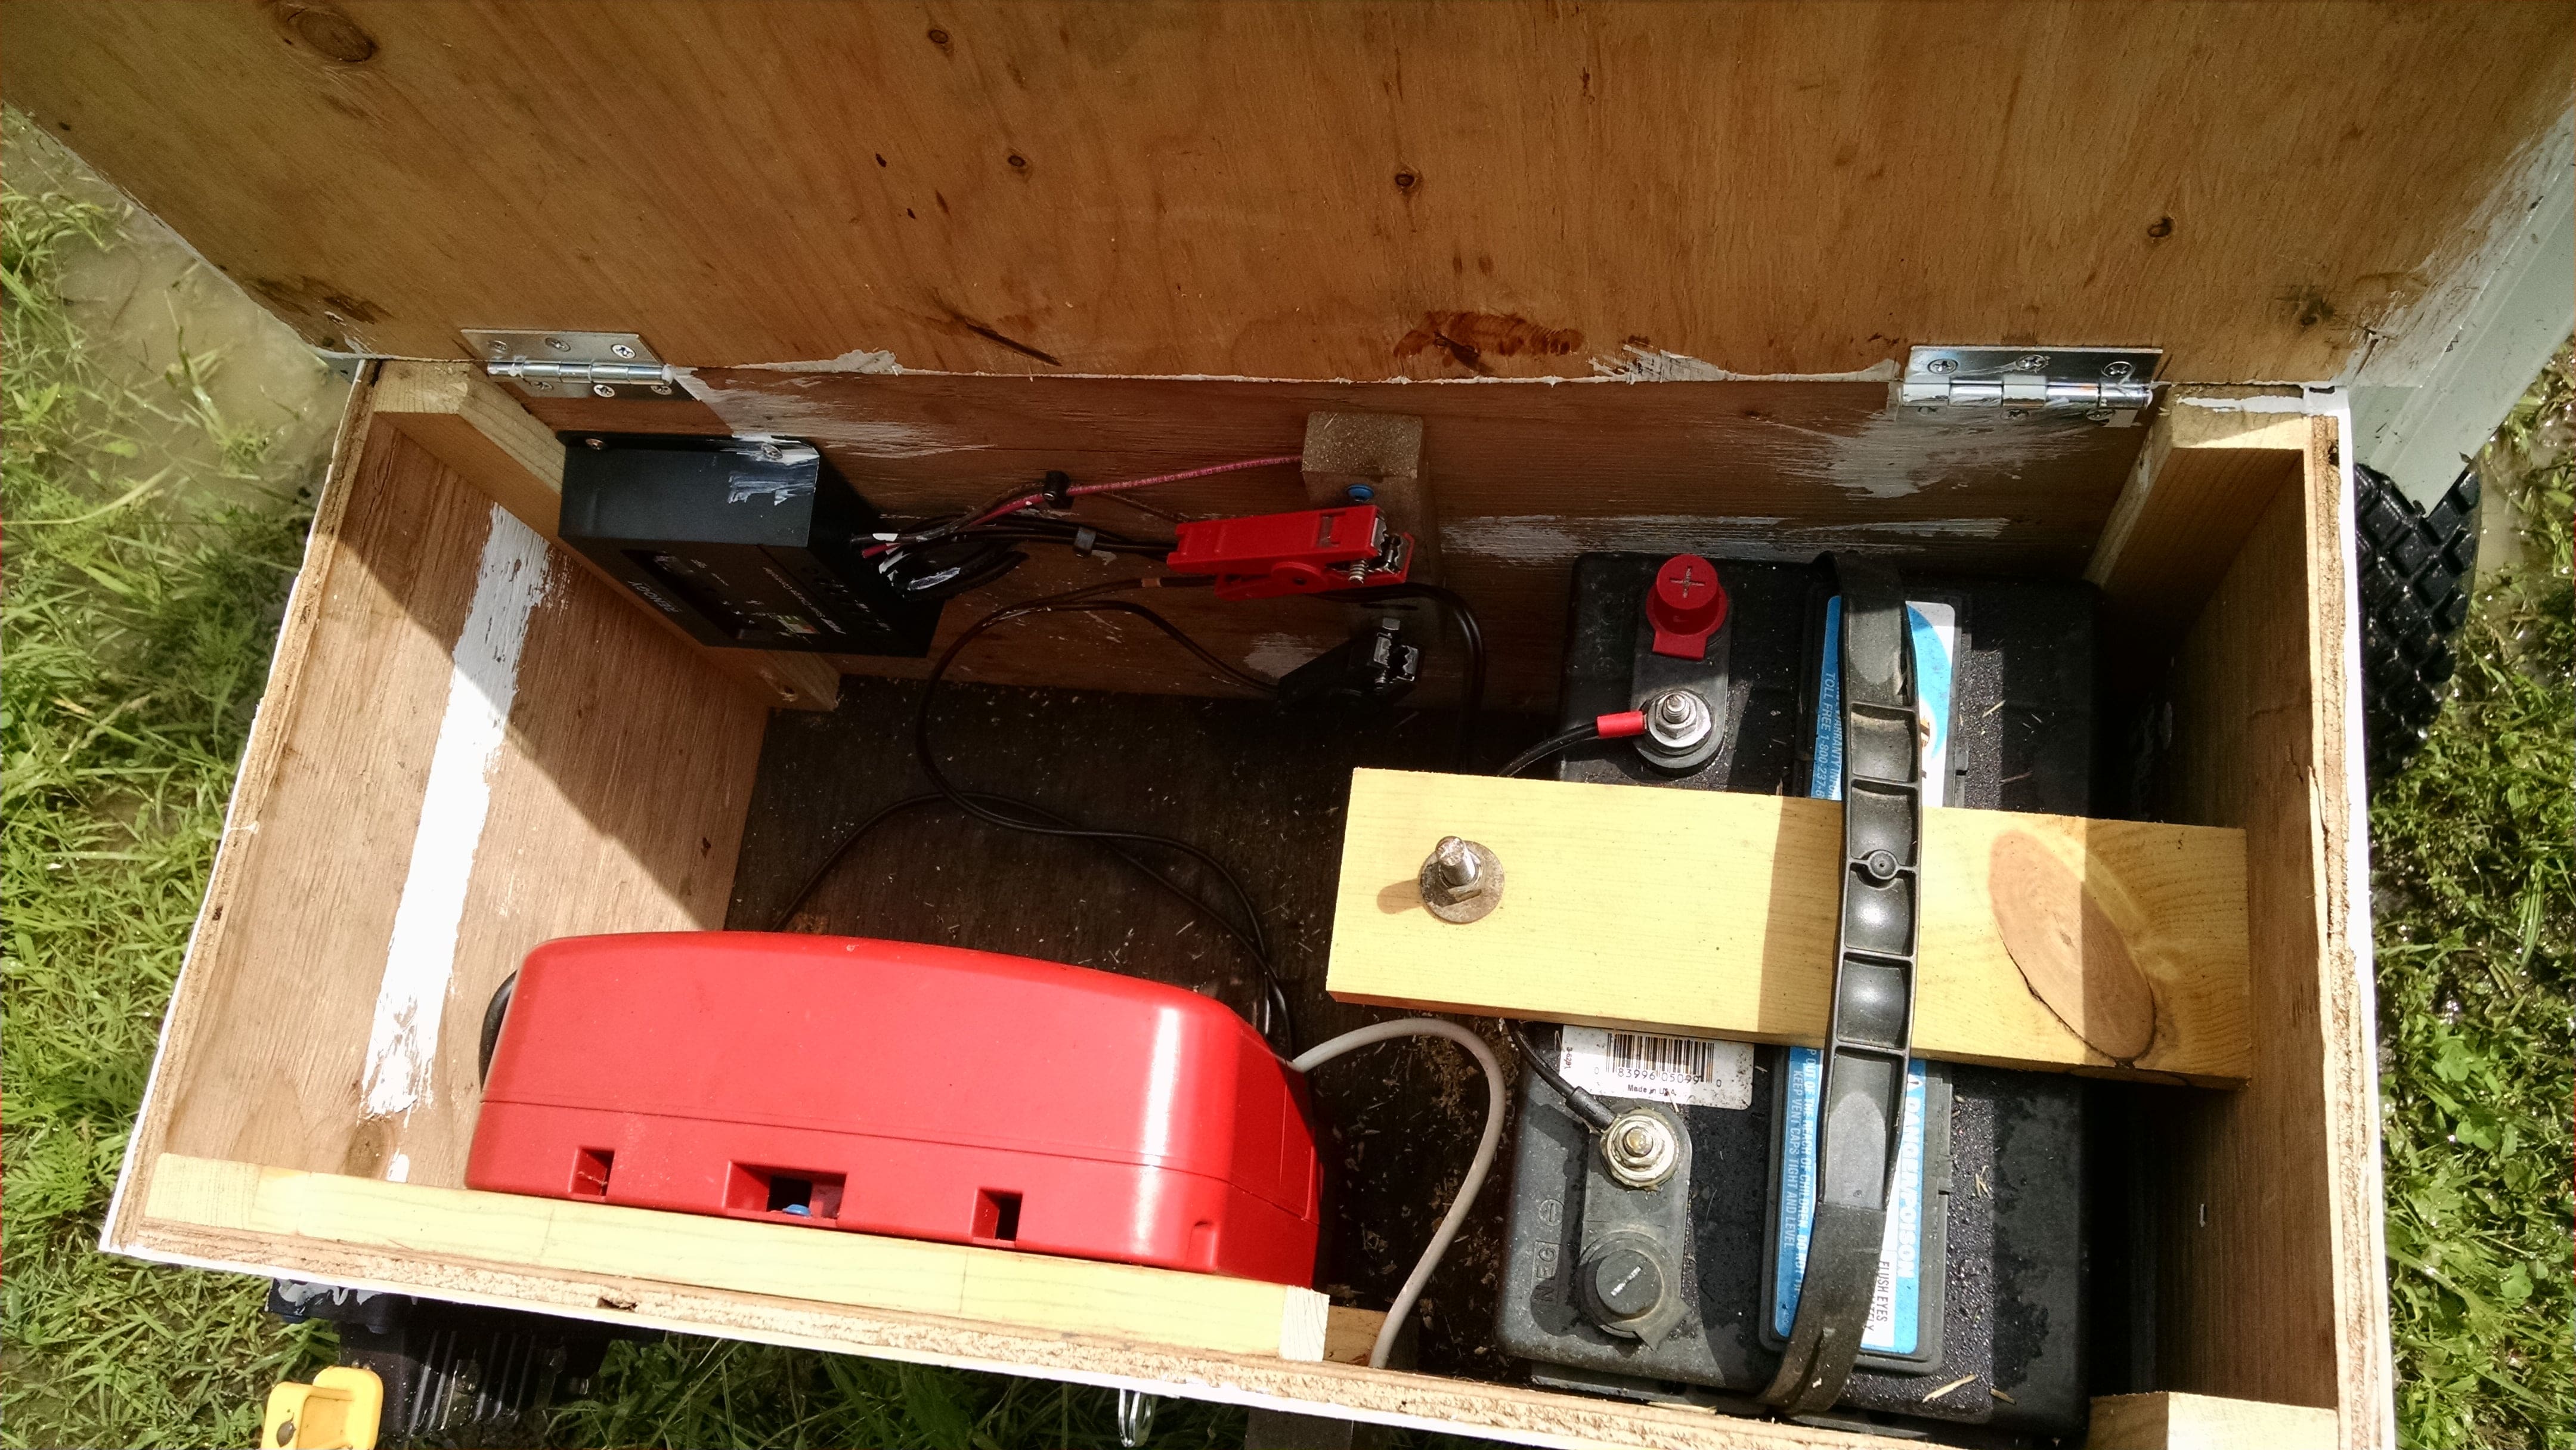
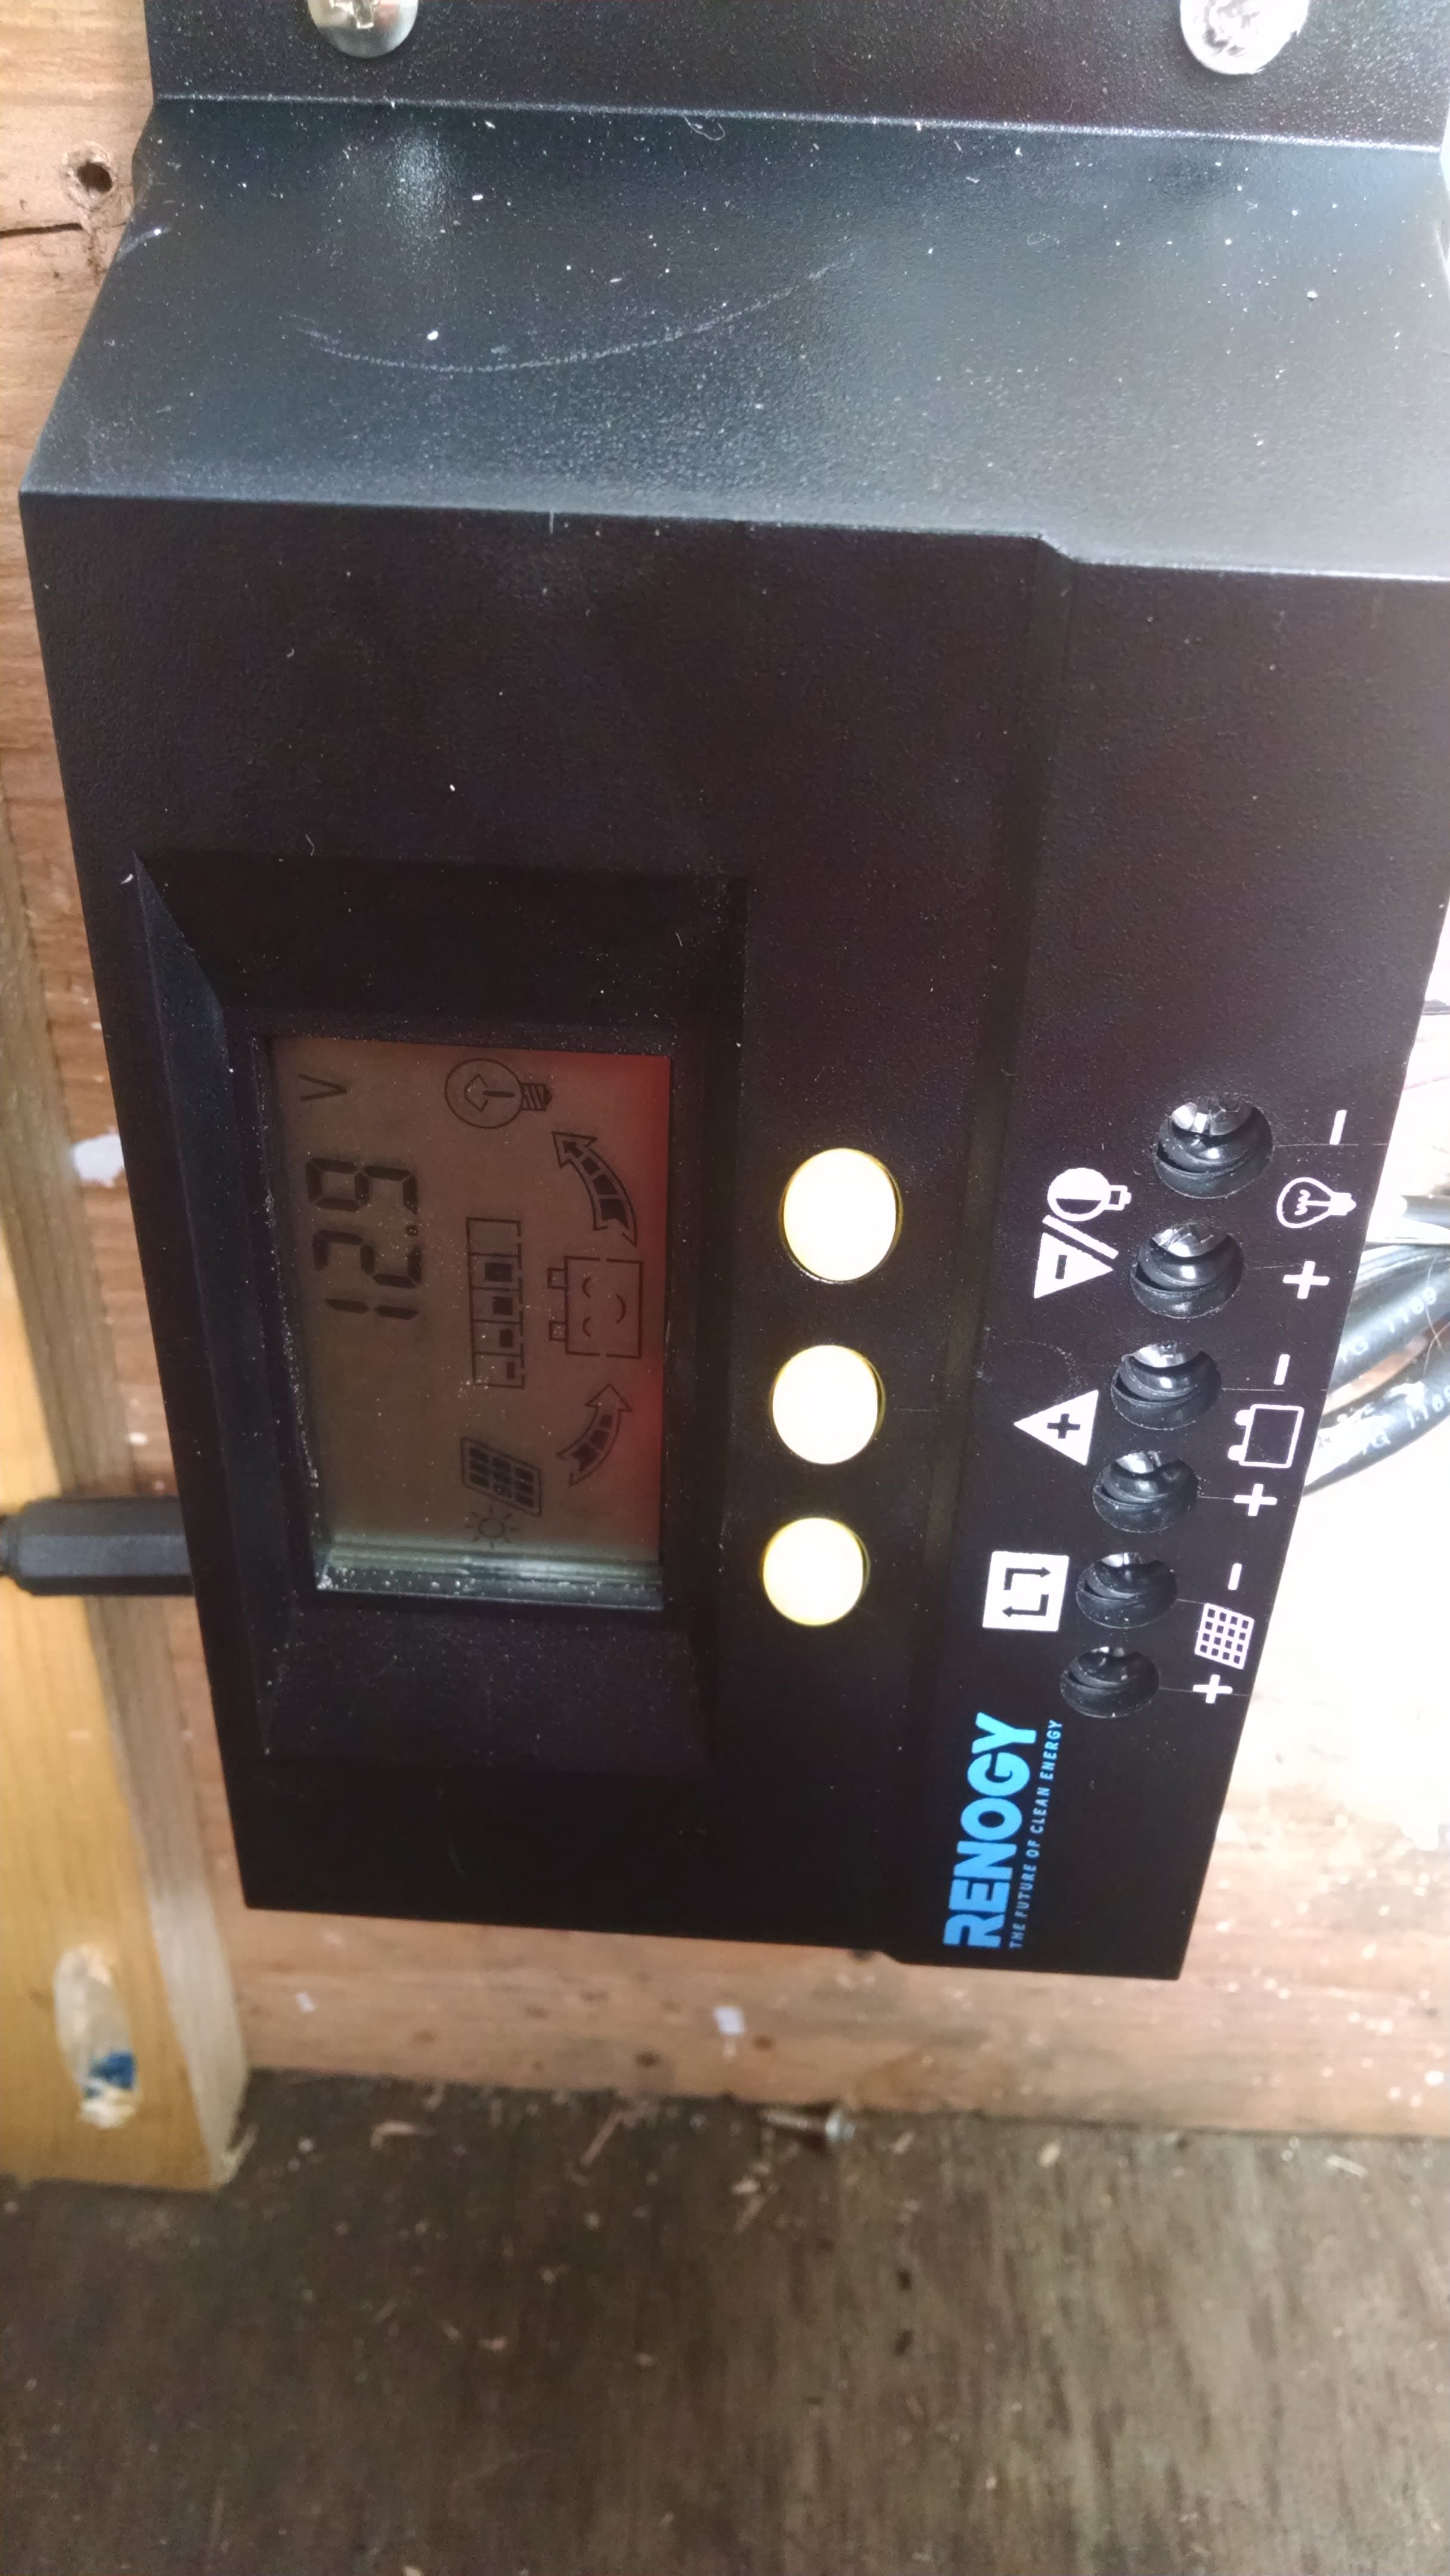
The total out of pocket costs were $225 for the solar panel and two charge controllers (I could have saved $30 if I bought the better controller at the beginning) plus $10 for hinges and stainless nuts and washers for the battery terminals.  Obviously all the other parts have value, but those were paid for years ago so I’m not counting them.

Leave a Comment

Your email address will not be published. Required fields are marked *

Scroll to Top