With the cold weather, I thought it would be a good time to go over the lessons I’ve learned in making bone broth. We use one quart per day on average in our kitchen, so I make a lot of broth. Here are a few things I’ve learned in all that simmering.
- Use the bones you have! Usually our broths are a blend of leftover bones. Last week’s batch included chicken bones from roasted drumsticks, turkey bones from jumbo hot wings, beef bones from stew, and one pig’s foot for extra gelatin. I keep a tub in the freezer and collect all our bones after our meals, saving them for broth.
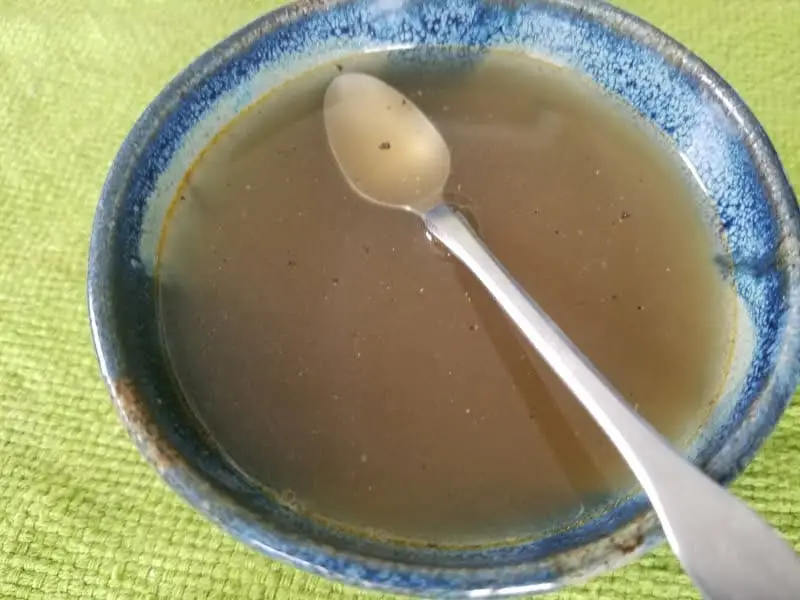
- Target about 1 quart of finished broth for every pound of bones. I add more water to start and reduce down to my target volume. This ratio gives me the thickness I like for a sipping broth. If your broth feels sticky on the tongue, you probably reduced it a bit too much. If you are using the broth as a foundation for a more complicated soup, you might want to thin it out to 1.5 or even 2 quarts.
- Salting at the beginning brings out more flavor than salting at the end. I used to only add salt at the end, but moving this step to the beginning dramatically improved the taste. Try it; you’ll be surprised at the effect. I measure 1/2 tsp of salt per pound of bones and then adjust for taste a little more at the end.
- Cheat to amplify the flavor. Scrape the browned bits and gelatin puddles off the bottom of roasting pans, storing them frozen until needed. I sometimes strain braising liquids (for instance, last week we did that when Rachel cooked a brisket in a crock pot) and add that to a batch of broth. Just be aware that if these additives have salt in them you might want to back off on the salt I mentioned in #3 above.
- Be careful with the mirepoix. Onions, carrots, etc. create a classical balanced profile, but these ingredients can also contribute to off-flavors if overcooked, especially when the pot boils too vigorously. I’d recommend perfecting your bone-only broth first, then gradually adding vegetables to your repertoire.
- Most of the flavor is developed in a bone broth within 12 hours of simmering. You can cook bones for days to extract more nutrition, but you’ll have a great broth within the first half day. For us this means I can start a pot of broth when I’m cleaning up supper, and ladle out a bowl for breakfast the next morning.
- Love the fat. Our family thrives on a diet rich in animal fat, but we prefer our broths to be skimmed. I pour the hot broth into quart containers and then chill them in the fridge (or in the unheated mud room at this time of year). Once the fat congeals, I skim it. Consider using the fat for pan fried eggs, drizzled roasted potatoes, or my current cooked veggie favorite: roasted onion chunks, apple wedges, and sage basted with rendered fat.
If you aren’t in the habit of making bone broth, don’t be intimidated. There’s nothing like a steaming bowl on these cold winter days!
Don’t have a stash of bones in your freezer? We sell bags of beef bones to get you started.
2 thoughts on “What I’ve Learned About Making Bone Broth”
Thanks for this post, I too experiment with bone brothing and agree with you on all points, especially number 5! And the salt too. But with black peppercorns, I put them in first (not sure why though haha) then just use freshly ground black pepper after. What about vinegar? Some folks say that helps leach out the minerals for more nutritious broth. There are some sour soup traditions here and I wondered if that was part of the purpose!
Yes, vinegar can be used to make a great broth. For whatever reason I don’t normally use it in broth but I know that a lot of people do. I often shake some vinegar-based hot sauce into my bowl when drinking it, so maybe I should consider adding vinegar at the beginning.